
Hooray for another DIY project!! Well, I wish that I could keep this DIY project of mine but unfortunately I don’t </3 I actually made this for my little sister’s NSTP project. The concept was to make something useful mainly out of just recyclable materials. When she asked me for help (and since the project was due the next day, I repeat — THE NEXT DAY) Ideas are starting to pop out of my mind but until she suggested that her groupmates are willing to donate some of their old CDs and DVDs, I knew right then that i wanna make a mosaic out of it.
This wasn’t really my idea. I was inspired by a similar DIY over at Pinterest and I wanted to do my own version of it. Now lets start off with this project and I hope you guys will like it!!
HERE’S WHAT YOU WILL NEED :
➤ Hot Glue/Glue Gun
➤ Old shoe box
➤ Old Cds
➤ Scissors
➤ Double sided tape
➤ Foil sheet
➤ glue, tapes, glitters are optional

PROCEDURE:
STEP 1. The Box.
This step is totally up to you. This is basically the base of your desired container. If you’re okay with whatever box that you have at home or just the shape of your shoe box then you can totally skip this step but for me I decided to make a box out of the rectangular shoe box that we had. What I did is that I cut the shoe box in half and overlapped one over the other to achieved that square box. Then Hot glue them in place. Same goes with the cover.

And you should have something like this:

STEP 2. Layer the box.
You can be creative in this part. You can layer your box to whatever design you are going for. Since I wanna make my box as fancy as possible, i layered my box with some blue foil sheet with the used of double sided tape for that seamless finish. This serves as the base for the mosaic.

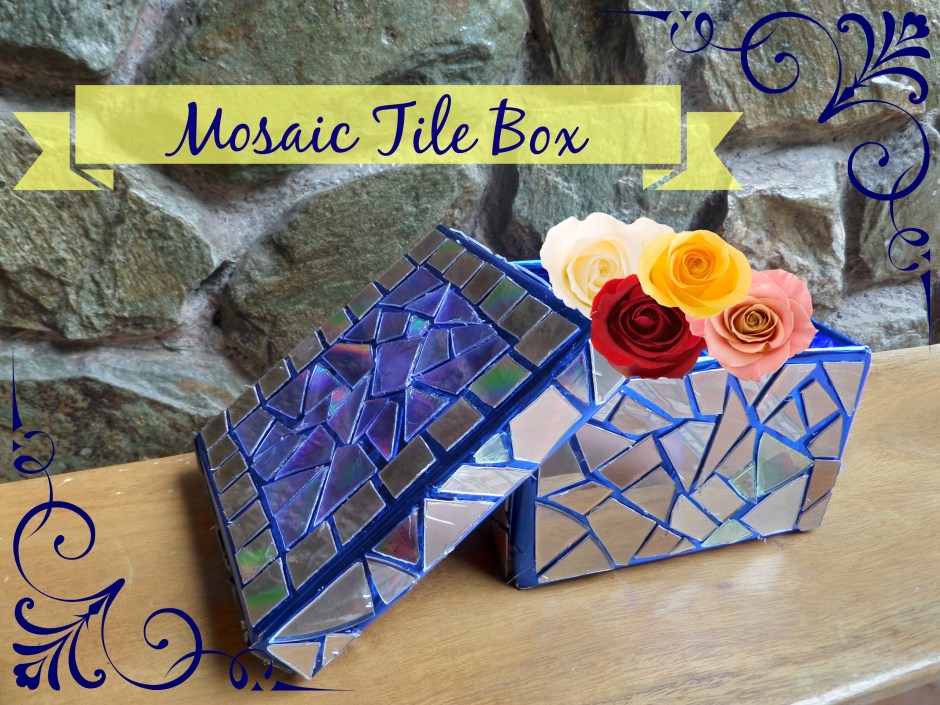
STEP 3. The Mosaic.
Cut sections of the CD and start your mosaic with the use of the hot glue! I really find this part challenging and time consuming (especially if you’re a perfectionist) but let this not discourage you! Here’s one tip I can share with you: start at one end, or on each corner and work your way to the other end or to the center! Do this on every side of the box.

Heres another look on the other side.

Decided to be creative on the top cover and made it look like this:

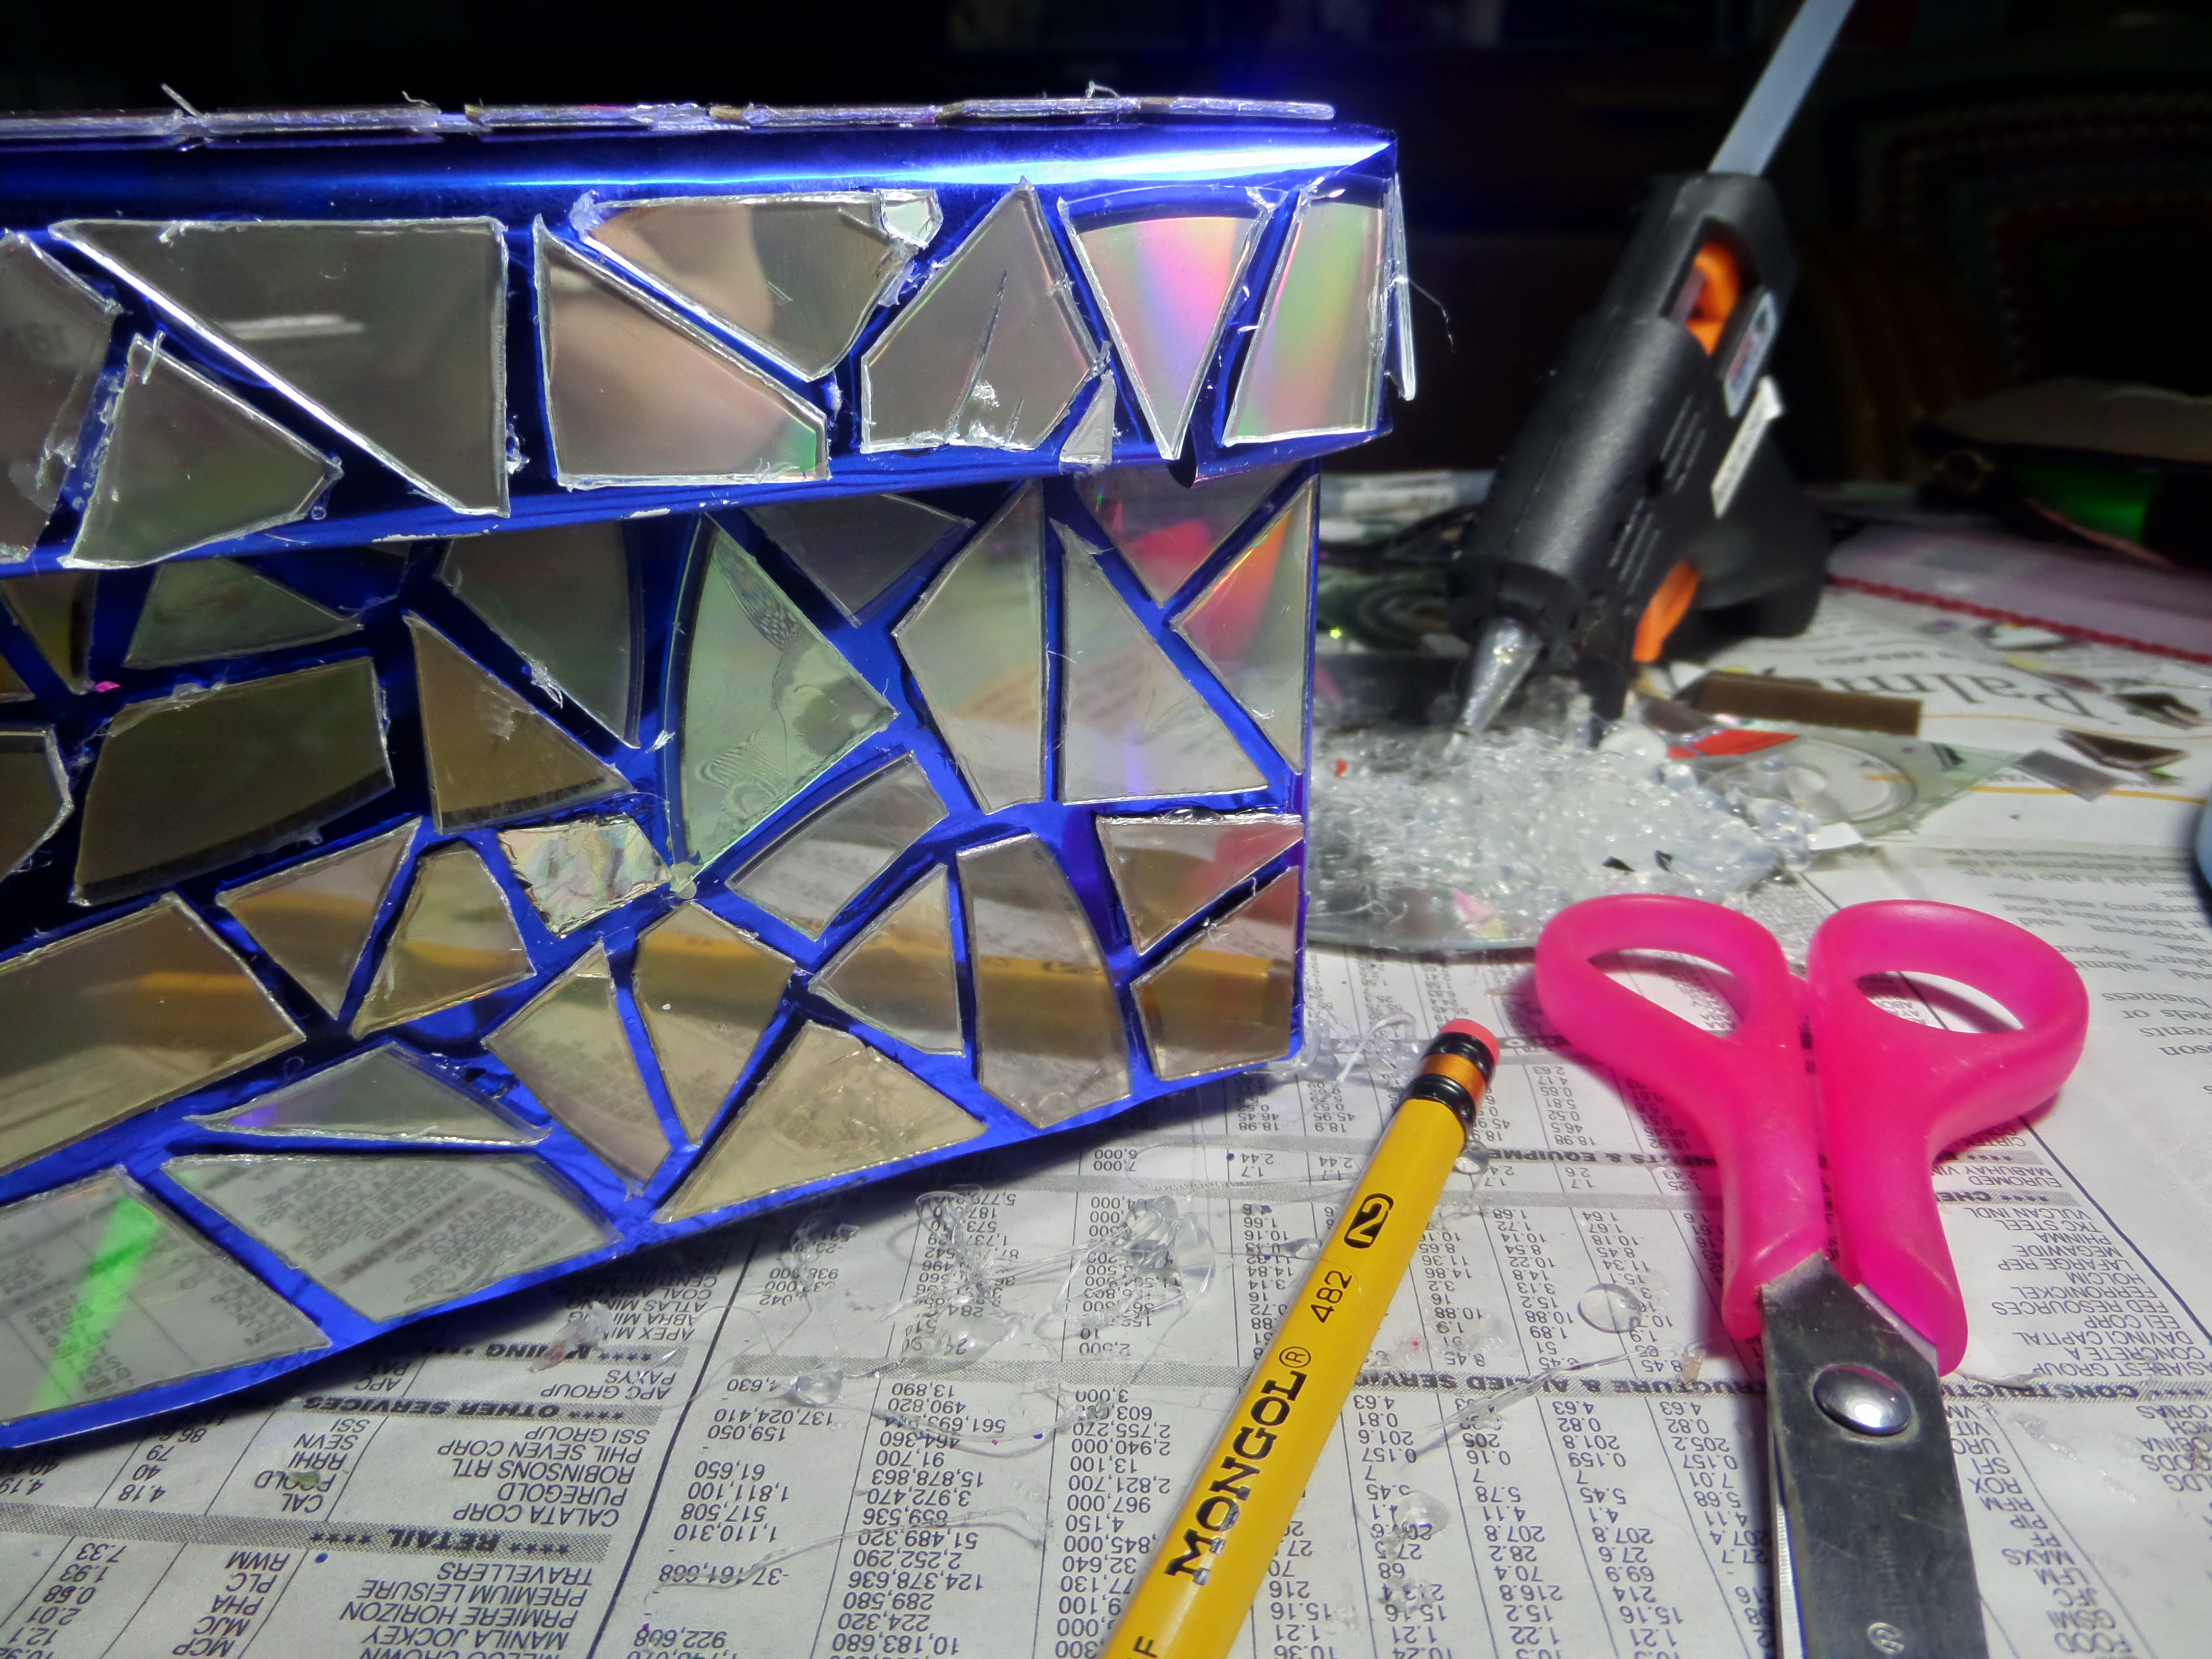
At first I imagine it to be more glittery but it was like 3am already and I’m tired at that point (because I started late in the first place) and I’m contented of how it turned out so i skipped putting on some glitters and was ready to hit the sack. But if you have any more to add on your design then you go for it! There isn’t really any right or wrong with this one 🙂


I really really wish that this box will be returned by my sister’s instructor after grading it or something. I really want it so bad or else i’ll just make another one next time. It is perfect box to place weather my jewelries, accessories, nail polish or just about anything, you name it! I hope you find this DIY useful like I did. Another DIY that is so easy and I’m sure you can do this too. If so don’t hesitate to share photos of your own version by tagging me on Twitter or Instagram at @keiseee or by using the hashtag #keiseeeinthecity. I wanna see them! 😀
It felt so great so be able to play with the hot glue again after a looooong long time! 🙂
Til next post!
Love, Kat ❤

I know what I will do with my old CDs now. Thanks for the tutorial.
I shared this article on my site.
Glad that you found this post useful and thank you as well for the feature, Lauren! 😀