


I am so happy and excited to share my first ever DIY project post with you guys! Those people/friends who are close to me know how obsessed I am with Do-It-Yourself projects. I like customizing my things and doing it myself because :
•It will save you so much money than buying one in stores. (Can’t blame me for being asian #Tihik/cheap LOL)
•You can have the power to choose the theme/style/colors/prints you want! I mean, who wouldn’t want to make things personalized right?
•You can be a boss and say you made it! lol 🙂
Before I go cray cray for my love of DIYs, lets move on to my howto/tutorial post for today! I decided to make this Wrapped Charger/USB Cord and share it with you guys! The main reason why I made my USB cord personalized is because as some of you might not know, our house is still under construction (specifically on the interior part) and everything is just all over the place. Every night when my siblings come home from school, we always find ourselves in our sala either studying, or on our gadgets (laptops/phones/etc) and so on and apparently my sisters and I have similar charger/USB cords. I hate how we sometimes mix up our things end up losing one because she thought it was hers and blah blah blah. So with my USB cord personalized, it would be easier for everyone to identify which cord is mine or their’s and it would just save so much time and effort and would minimize the arguments with my siblings! Problem solved! 🙂
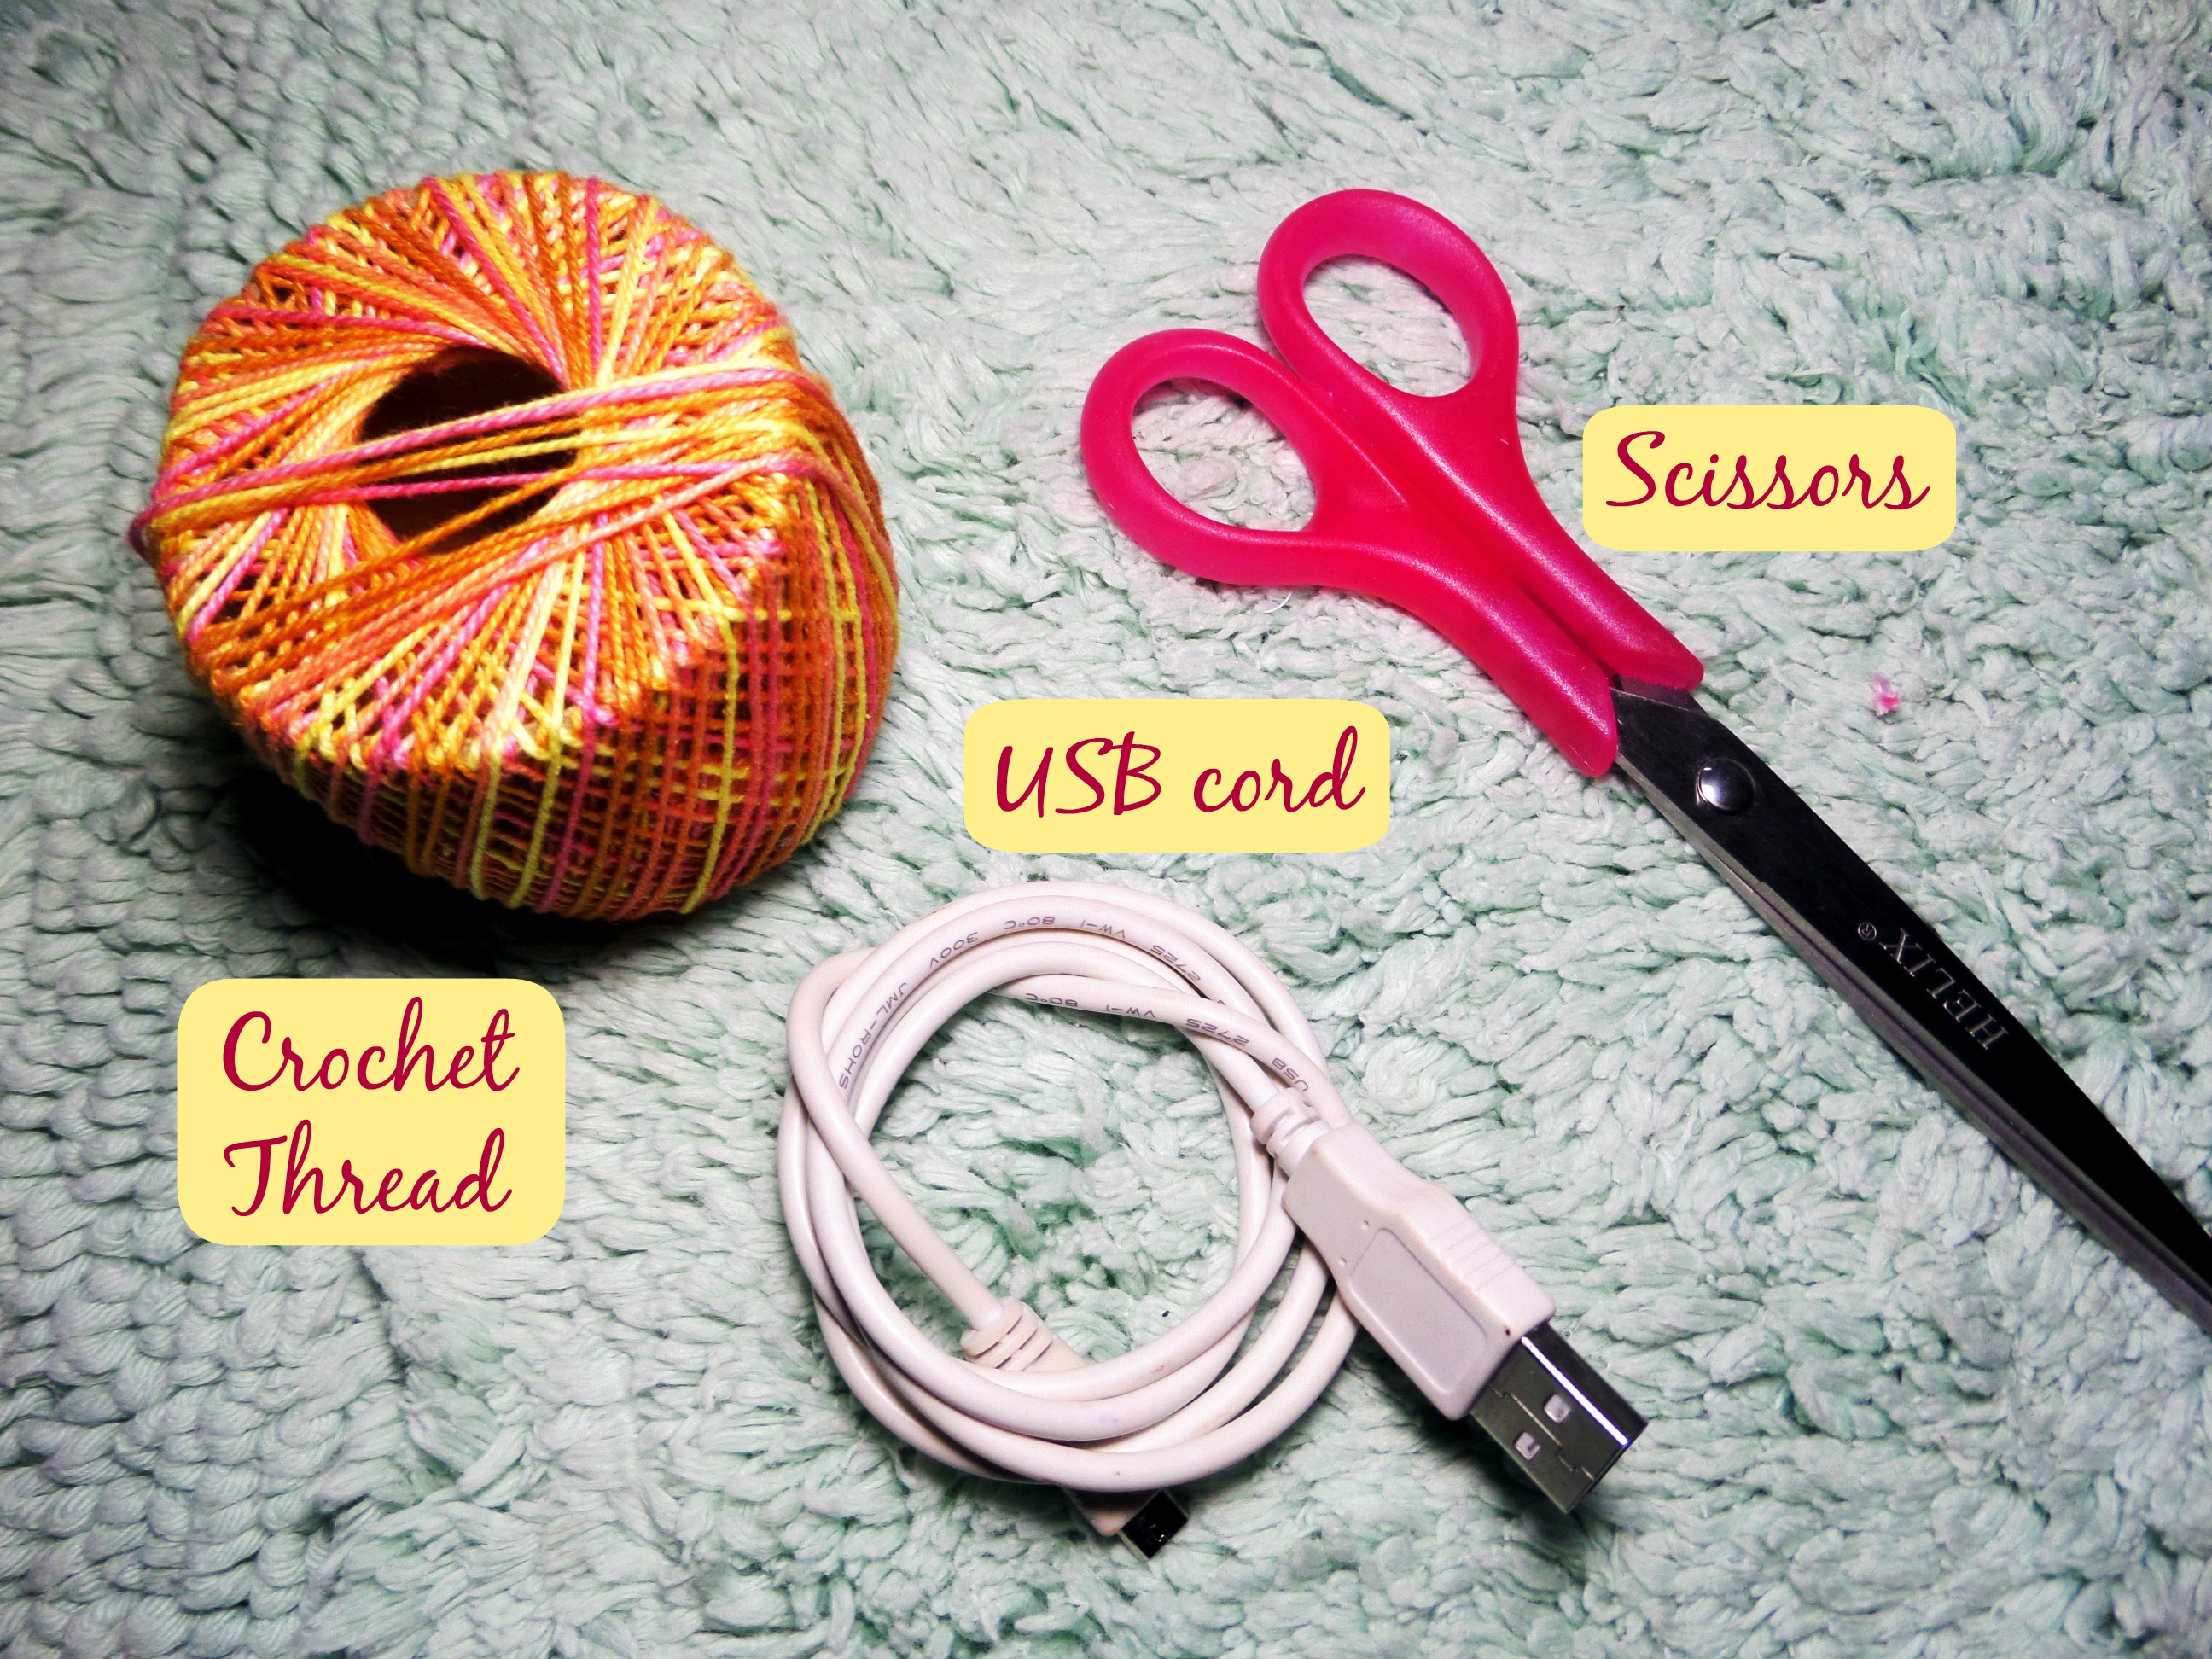
HERE’S WHAT YOU WILL NEED :
➤ Scissors
➤ Charger/USB cord
➤ Crochet thread or a yarn
(you can buy this at your local craft store with any color you prefer 🙂 )
PROCEDURE:
Step 1. Make a knot at the end of the cord.
Step 2. Place the thread over the cord from right to the left. (As you can see in the photo below, I’ve already done a couple of loops already)
Step 3. After step 2, place the thread underneath the cord (left to right) and go through the loop.
Step 4. PULL! (nothing much so say on this part lol)
Step 5. Repeat steps 2 & 3 until you reach the other end of the cord. (This may take some time depending on how long your cord is and how thin or thick your yarn/thread will be so just be patient)

AND YOU ARE DONE!
It should look something like this :

I hope you will enjoy doing this DIY as much as I did! Please let me know on your thoughts on this project by commenting down below. It’s very simple and easy so go ahead and try this out and if you do, don’t forget to use the hashtag #keiseeeinthecity or tag me on Twitter or Instagram at @keiseee. I would love to see your DIYs! 🙂
Til next post!
Love, Kat ❤

Cute!
Thank you!! 😀
Hello Katrina,
This DIY project of yours is super cute!
Thank you, Melanie!! hehehe
Thank You for this DIY post! Ang effort nga lang! 🙂
I will definitely try it!
April of: http://beybiapril.wordpress.com
IG: @beybiapril
Dapat talaga may pasensya ka for this DIY! lol! 🙂